I decided, I'd drop a few random updates. You know, my obligatory, "hey, folks, I rarely blog, despite the title of my blog", posting.
So let's do a recap, and since I haven't made this much a personal blogging (blog) of sorts, and my grammar and spelling, etc. aren't exactly on point, let's have a go at it, shall we? ;)
(Really, I need an editor, I'm sure someone much younger than I would do better at this).
Where to start? So, as many of you know I am now in the dirty 30's club.
My youth has escaped me through my 20's and years of being a "mom". Just mom, not much else, "Mom". I feel I devoted my 20's to raising my two children (still raising), and it left me with no social life or much else. - I should clarify, that I am perfectly content with that.
So having only done side jobs in photography for the last 8 years of being "mom", I finally decided with BOTH children in school, it was high time for me to seek some form or employment other than photography.
Where does one start?
I'm all to sure my dry resume would look less than appealing to most employers. I mean, a smile and personality only gets you so far;) (shh, don't tell me that)!
Long story short, I've decided to partake in a part time job, while my kids are in school. Basically this means my only available hours are 9-2, and thankfully I was able to obtain a job that would allow me those hours (sometimes less). I couldn't be more thankful.
It's not much money, but it's money.
It allows me to regain a social surrounding by being upfront with customers daily.
And while it may not be the "best" job in the world, it's a JOB and even if I am 30 working a small part time job, I am PROUD, after all, the employment pool these days looks empty, it's almost erroneous to jump in with out water, however, I took the plunge.
It's kind of weird staring over at 30. Thirty, two children, starting from scratch.
With God on my side, I know we'll get by just fine :)
Ethan is in speech therapy now, and he's doing wonderful. He seems to enjoy Pre K, and that makes my heart smile. MiMi is struggling a little in math, but with the school system here not sending home math home work, and us parents not receiving news letters or updates on what they are learning, it's hard as a parent to teach and help. The few times she has gotten math home work, I have to admit, I've had to turn to youtube or google for a refresher. - It's crazy what you forget over the years.
Or how fast kids these days are made to learn and move on. It seemed we all did better when we were able to gradually grasp the concept of patterns and numbers to truly understand math before letting us swallow us whole with out fully comprehending exactly what was going on.
Math, you never were a friend of mine ;)
I pray I am able to find time to get some Halloween & Fall Crafts ready for my readers (all 41 of you).
Be blessed!
Sunday, September 29, 2013

Saturday, August 10, 2013
DIY: How to Clean Suede / Faux Suede Gymboree Boots !!

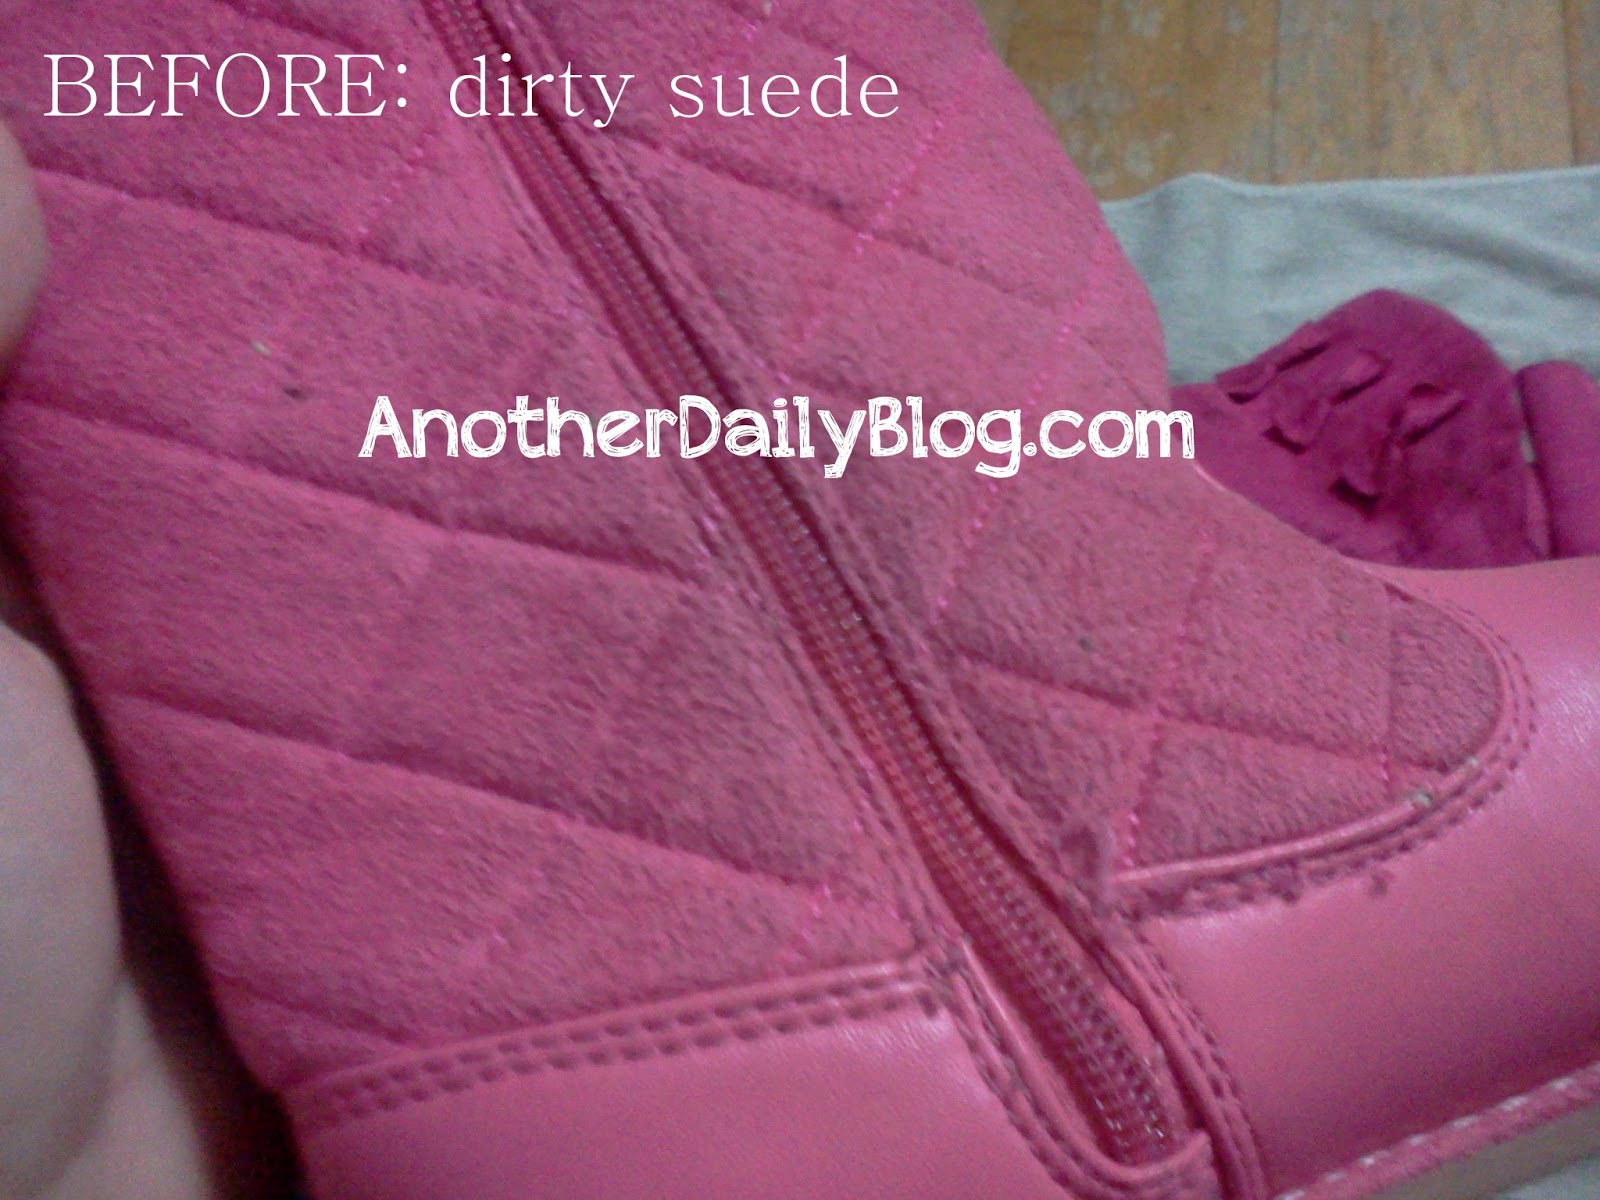
So, if you're like me, you (or your children) own a pair of suede or faux suede boots. For me, personally, suede and I don't much get along. I do, however LOVE to buy the Gymboree boots for my daughter. I couldn't tell you if it's legit suede or not, but it looks and feels the part - even leaves behind the horrible water stains genuine suede does. BOO! Such a mess!
Before you think you have ruined those children's shoes (or your own for that matter), DON'T toss them, let's clean them up and make them good as new!!
Here's what you need:
* 1 bowl or measuring cup
* 1 tablespoon of regular TIDE
* 1 old tooth brush
* 2 cups of HOT water
* 1 towel to lay wet boots on* YOUR FILTHY water stained suede
* some elbow grease ;))
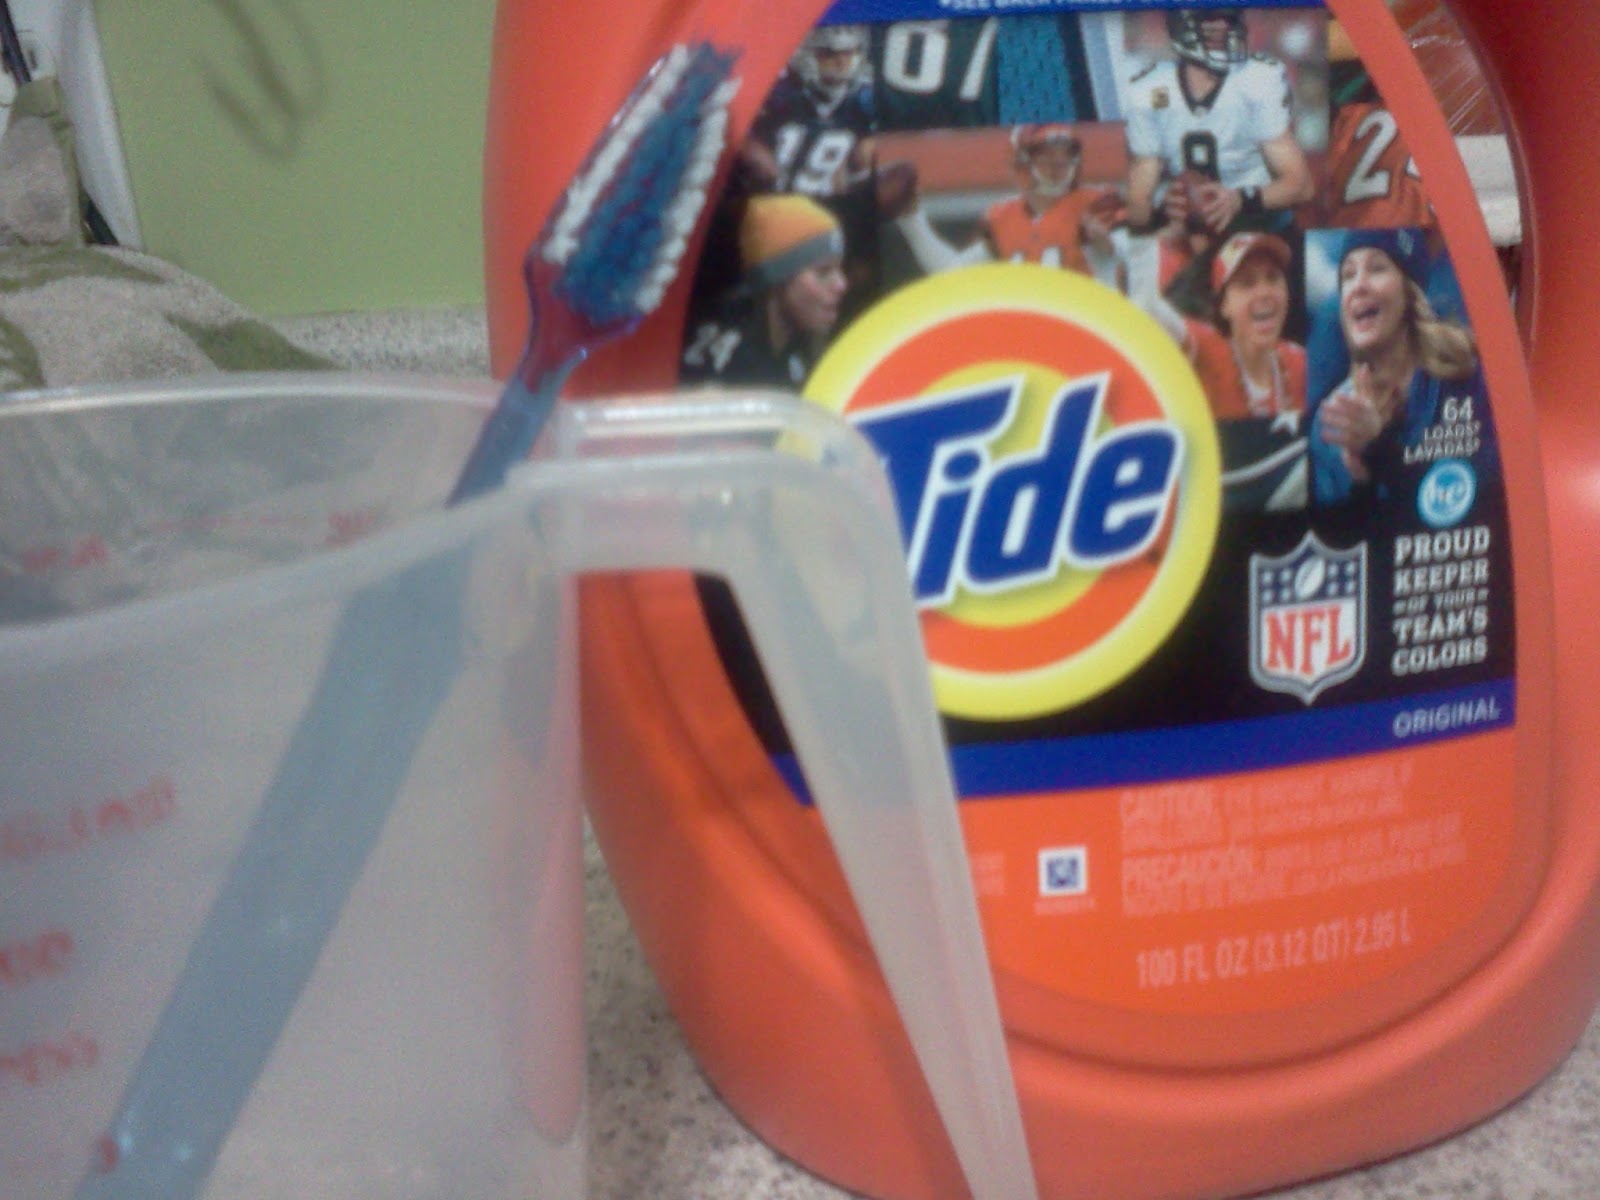
So basically you're going to put a tablespoon of TIDE into a bowl or measuring cup, put about 2-4 cups of HOT water in and mix it up with an old tooth brush. Lay down a towel and dip the tooth brush into the mixture, work the ENTIRE boot (to make sure it's an even clean) and use circular cleaning motions. Keep dipping the tooth brush and pay extra attention to the stained areas.
Once you have cleaned the entire shoe/boot take the towel and rub the boot circular motions lightly. Lay the shoe ontop of the towel to air dry.



Sunday, July 7, 2013
Adios Ripe Wheat Walls, HELLO, Calm & Serene!


(Above: After images)
When I first bought my house, almost 10 years ago, I splurged and bought 5 gallons of Behr's Ripe Wheat.
Now, I know what you're thinking; FIVE GALLONS?!
Yes, it was the first time I EVER painted. EVER.
Little did I know a whole gallon would have plenty done the trick.
But for 8 years, I've literally been in a love/hate relationship with the Ripe Wheat walls. Sure, they were beautiful, primarily in Christmas when I had a rustic Christmas theme going, however, they just were NOT me.
So a few months ago, I took myself to Lowe's and purchased a new color, it's beautiful!
I can best describe it as a silvery sage color but VERY neutral. It's just..
I LOVE IT.
So here are the befores (gag):
(Below: Clearly, MUCH older pictures of my home,
my hardwoods actually looked decent).

(Below: Picture was I'd say 4 years old judging from Ethan's infant bouncer,
I've since painted the entertainment center white).

And, now for the during/afters :)) These are mostly cell images (sorry, I'll get it together one day)


AND the big after: I think I am going for a coastal cottage theme.
I purchased the Beach Sign at a local craft store, my hallway has my book page wreat I made and the lower picture shows the transition between colors. The curtians are NOT mine, but it's what I want in there. Currently I just have white sailcloth drapes. I will keep hints of vintage reds and minimal oranges alogn with coastal colors. I'll be sure to post more once I have it complete.

Birthday Portraits; My babies aren't babies anymore :(
 I try not to make my blog too personal, and shy away from posts about my children, however, I just don't have the energy or time to invest in a "family based" blog, and so I am going to just keep to my original blogging platform and include my children in here as well. Besides, what fun is a blog with out a little bit of personality to it?
It has probably been a good while since I've posted photos of my children. MiMi turned 8 in March and Ethan turned 4 in April. Both have grown so much since I started this blog venture.
I typically like to do outdoor photos, but decided I would have a hand at some indoor ones and since I was lazy, and didn't want to invest too much time into doing my own images, I stuck with my itty bitty studio kit and made the images simple with nothing more than a white backdrop, a number from Hobby Lobby and a bundle of balloons for the little misses.
Children grow FAST, enjoy it! :)) God has certainly blessed me.


Tales in Motherhood: The messy sock monkey room

Nanny 911? Okay, that was perhaps far fetched. My son, for the most part is well behaved - he has always kept to himself, but his room...well, that's another story.
This is how I spent an hour of my day last week. Yep, little man still has the whole sock monkey bedroom theme going for him. At some point, I am sure his above average height will force me to sell the farmhouse toddler bed off, but for the moment, it's far too cute to part with.
*ahem*..The befores:

(Clearly, a tornado has struck the 65 rancher, the youngest child's room was victim to the chaos) ;)


(Below: Cute little sock monkey knock off scentsy warmer, huh? Wal Mart, LOVE IT) :))


Saturday, May 11, 2013
DIY How to Make Plywood Subfloor Look Like Wide Plank Hardwood Flooring

I've known for sometime (literally years). That I would rip up my ugly paint stained Den carpet, and attempt to recreate the plywood sub floor into something special. Thankfully my plywood sub floor, was wood grade, while not perfect by any means; it was stained heavily with both previous owner's pet stains, old paint from years past and a bazillion staples etc. I knew I would take on this project one way or another and love it.


I didn't have any real plan, just to wing it as I went.
I had seen on google that a few people had used a sharpie marker to draw plank lines on the plywood.
My first task however (and I did many steps backwards, but it worked out in the end), was to remove the staples; all 300 or more of them (blah).

Next I swept and decided to follow the pre existing Vertical lines in the plywood as to not be too off when I drew my new plank lines. Typically I had a few smaller boards due to original plywood seem lines, and then after that I measured each plank line to be 9 inches wide.


I took on the daunting task of drawing vertical lines down the entire length of the room.
When I had finished, I realized the thin lines just weren't going to cut it for me. I wanted THICK JUICY bulky old barn/farmhouse aged gappy lines. And so I took my yard stick and drew a parallel line beside each thin line, and YES, I seriously had to COLOR in each and every line (even with a bulkier Sharpie) ergh!!


This took forever - so if you take on this task yourself, maybe start with a FAT sharpie and not the thin ones.
Once my vertical sharpie faux plank wood lines were drawn, I decided I would sand it. (typically you can rent a sander and sand the floor before drawing all these lines, however, I am far too broke to even rent a sander, then buy the paper; and so I decided I'd take my handheld sander with the 60 grit sandpaper I had left over and just sit on the floor and painstakingly go up and down each faux plank (avoiding the sharpie lines). On areas with heavy staining I'd go over a little more than others.) I did not remove ALL paint splotches (because I did not realize the stain wouldn't take to them - so if you take on this project, sand them down ALL the way, although it's not bad and gives it character.
Once I sanded down every bit of flooring, it was looking good.
I almost didn't want to stain it.


The week prior I was set on buying minwax stain, but they did not have the paint stain at Lowe's I had wanted. So not wanting to go home empty handed, I chose Rustoleum's Kona wood stain instead.

I was hoping it would be the right shade, and honestly didn't care if it wasn't, because at this point, ANYTHING would have been better than the nasty plywood subfloor that had once spent YEARS under an ugly old carpet with no lovin' :)
That night I drew the horizontal lines, and I staggered them. I didn't want an obvious pattern, so I kind of just drew them randomly about the floor, Not too many, just 3-4 horizontal lines per each plank. I even drew little fake nail head marks.

I waited a week, because to be honest, this is such a time consuming energy sucking project when doing it on a budget. FINALLY I decided I'd take on the task of sitting on my knees with my Rustoleum wood stain, a varathane paint brush and some old t shirts as rags. I LITERALLY did a back and forth motion on EACH plank when painting the stain on. I IMMEDIATELY wiped it off right after application with an old t shirt.
Here is a video I took to show how to apply and wipe stain off. Sorry in advance it's shoddy (it's hard to video tape yourself applying stain with a cell phone camera). Link : https://www.facebook.com/photo.php?v=517530444977106


I was IMPRESSED. Rustoleum's wood stain is BEYOND amazing. It's RICH in color and dried SUPER fast. WOW! For only $8 a quart sized can, it covered the entire 300 sq. ft. room and I only needed ONE coat. *Rustoleum isn't affiliated with me or my blog in anyway, but if they should so desire to send me some product, in exchange for a blog DIY, I have a few projects up my sleeve - hint, hint * ;))
Anyway, it looked GREAT! And my crummy cellphone photos do it absolutely NO justice.
I waited a couple days (due to my children being rambunctious) and then I purchased Rustoleum's polyurethane in water based semi gloss for $33 at Lowe's. I also purchased a long wood stick applicator and a rectangular application pad (pads were only $5 each, and I did not want to reuse, so I did buy three for all 3 coats of polyurethane).
I'd never used polyurethane in my life (other than on furniture where it was already in the stain).
I was so absolutely nervous. I used an old paint pan, stirred it up and poured it in. I dipped the pad in and went up and down and worked in sections going vertical. after each plan was brushed on I'd finish it by going top to bottom ONE STROKE using JUST the weight of the applicator.
I was so nervous at first, it was a milky hazy color (I didn't put it on too thick, but just enough to where it left a haze). After 3 hours I'd say the haze disappeared and it was looking good. (sigh of relief).
I followed it up with a total of 2 more coats for a grand total of 3 coats of polyurethane.


It was beautiful. No photo I can or did attempt to take could ever do this floor justice. It looks so amazing, it has a nice smooth texture, and doesn't even look like plywood at all. It looks like legitimate wide plank hardwood flooring.
(Below: Detailed up close - notice the sharpie lines show up perfectly :)
- This is as close to the real color I could get of the flooring) :)


For less than $65 I have these amazingly beautiful floors that make me smile from ear to ear.
I NEVER in a million years imagined I could take an existing plywood sub floor and make it look the way I have. Everyone that has come to see it in person has complimented me on how well it looks and how they can't believe it was plywood.
I won't lie to you and say it was easy, because it wasn't. It wasn't SUPER hard. But the only gripe I have is how much time it took to do.
When you're broke, and on a budget, you have to work with what you have. I have never done flooring before and I did a fantastic job, so I am pretty sure ANYONE can do it.
So, Rustoleum, if you're reading or happen upon my blog, I'd love to use your products on a few other projects I have up my sleeve and would love to exchange a photo tutorial type blog in exchange for use of your product. :) (Hey, I had to try) haha.
EDIT: June 2016: I ended up using the area for my photography and computer. The floors look just as good as they did when I first did them. I clean them with a little diluted pine sol and a mop, being careful not to over wet the floors. They hold up great to children and pets alike.
The photos are from a cell phone, so I apologize that they are not the best quality.


Feel free to ask any questions (girlxmom@yahoo.com) , dear readers, I'd love to save you all money as well :) God Bless <3>
Subscribe to:
Posts (Atom)