Showing posts with label home made barbie house. Show all posts

Friday, December 23, 2011

Homemade Barbie House out of Re purposed 70's wooden speakers - DONE:)

*12/26/11 Updates* I didn't want to start a new blog, but figured I'd add in the photos from Christmas morning and of the dollhouse all set up on top:)

Be sure to arrow down to see how this was made :) !

Can't believe two old dusty wooden speaker boxes and $30 in supplies made this beauty!

See how below!!
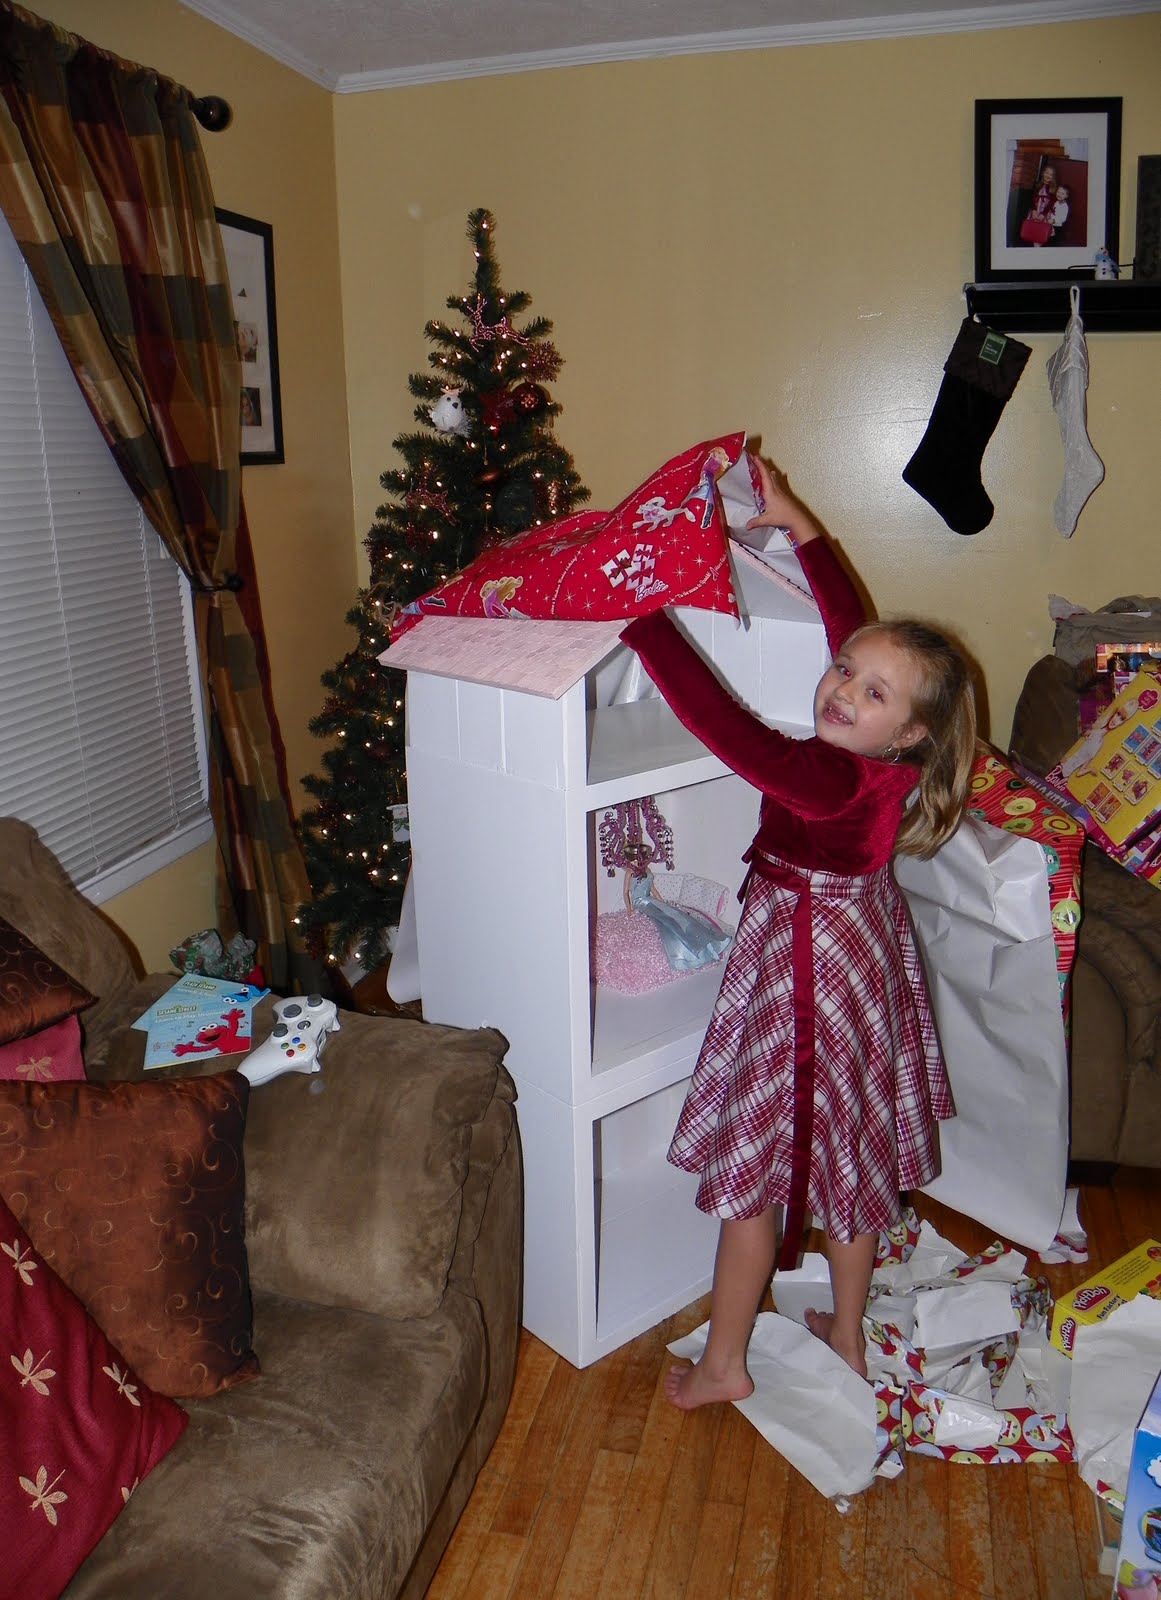
Christmas morning - She LOVED it!
All set up (w/ camera flash)
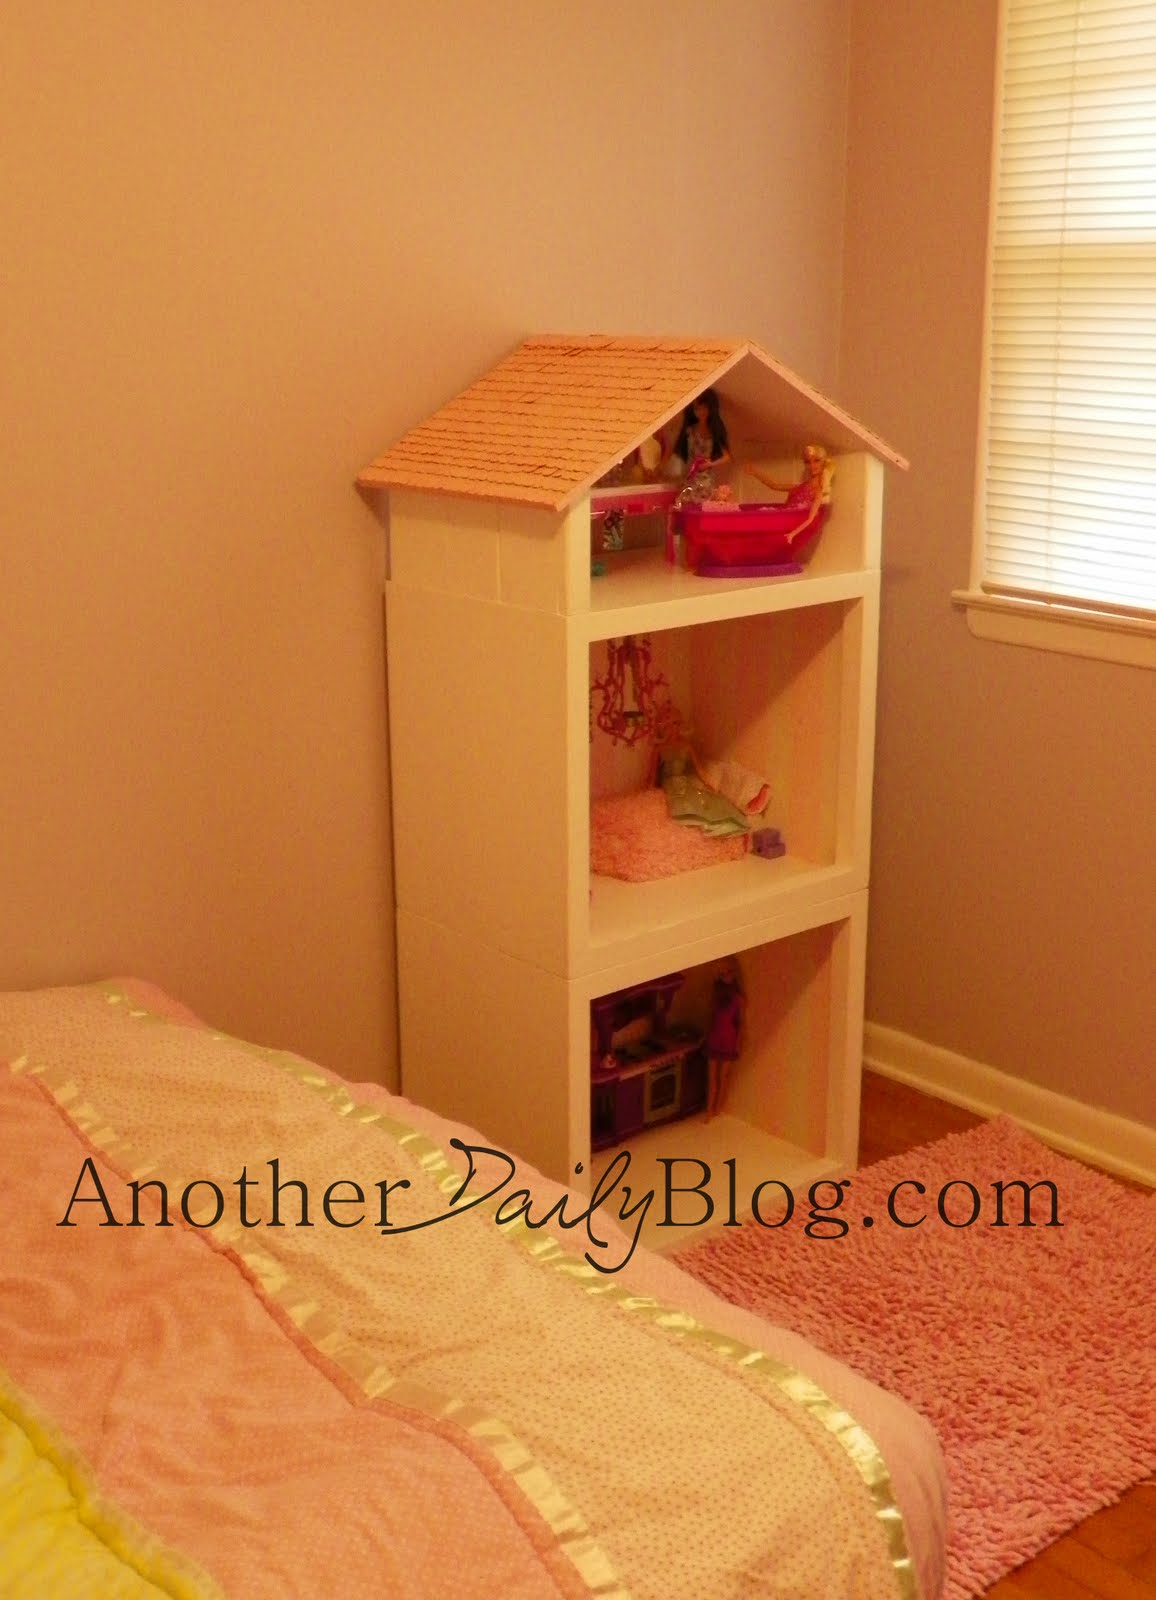
It goes perfect in her room!

Decorating the dollhouse herself w/ all the accesories she got from Santa;)

The attic bath

The bedroom (potty wouldn't fit in the attic haha)

Kitchen, oh my, Justin Bieber in a house full of Barbie? hmm haha

The one thing I didn't buy was a barbie bed $30 for a piece of plastic was absurd!! I used a cereal box, an old poodle costume she had when she was 2, an old polka dot tank top and the stuffing in the poodle's head along w/ a glue gun and tape to make the Barbie bed from scratch:

This is the cereal box, w/ the old tank top cut up and stuffed w/ the filling in the poodle costumes head piece to make up the bed/sheet set

Barbie on a fancy pink home made bed :)

I made two pillows from the old tank top and stuffed them w/ the non fluffy part of the poodle costume. LOVE!
----------------------------------------------------------------

Whelp, there she is!! The handmade Barbie house, I started out of two old 70's wooden speakers, is practically FINISHED:) In the end, I didn't end up using the faux wood flooring or tiles I bought, b/c I felt it took away from it's cute shabby chic/whimsical look.

Instead of using scrap book paper for wall paper, I decided that simple would look best.

 I opted to use supplies I had on hand.

 I used the same old can of pink paint my father used in my sister's bedroom, that he later gave me for MiMi's closet and taped off lines and...
...the handmade Barbie house's walls were done.

The same day I was in Hobby Lobby purchasing the shingles, I happened to see a mini chandelier in the photo isle, and thought to myself, "NOW, THAT would be adorable". Being cheap, I went home and waited to print another 40% off coupon.

Today, I went back and got my mini chandelier for $9. We had to take it up some, but it was perfect!
love. love. love!!

I did buy some finials for the feet, but ultimately decided against them (plan to use them on a nightstand later).

So let's recap this whole process:
Two speaker boxes = FREE
I gutted, sanded and primed and painted and nailed them together.

Used scrap wood that was left over from our farmhouse bed we built to build up the 3rd story, and used a $6 sheet of plywood to form the actual roof and connected, primed and painted all that:

Tediously and annoyingly glued EACH tiny shingle onto the roof ($15 for two bags)

Spray painted the shingles with Krylon's "ballet slipper pink" spray paint (which was left over spray paint from my daughter's ceiling fan revamp project):

Used painter's tape to section off and paint stripes with paint we already had:

Added a $9 mini tea light candle chandelier found by complete accident at Hobby Lobby (after 40% off coupon):
And for some recycled materials, and a grand total of $30 and some manual labor, you have a BEAUTIFUL homemade Barbie doll house!
When my daughter opens all her barbie furniture on Christmas she can put it wherever she likes:) I still plan to make the bed and sofa from scratch, but for now this will do:)

And, I am telling you, dear readers, whenever you see something laying around that you think you may want to trash, first thing outside the box (or speaker box ;) - and re purpose it if you can). This was such a fun project to make and on such a low budget. I just couldn't justify spending $149+ for the plastic barbie dream home. NO WAY.

So for $30 to build this and about $70 in barbie furniture AND 8 new barbie dolls she had a REAL WOOD home, WITH NICE furniture AND Barbies. Even the plastic barbie dream house didn't come with the barbie dolls :)

Merry Christmas & Happy Holidays!

Linking with:

Today's Creative Blog

Wednesday, December 21, 2011

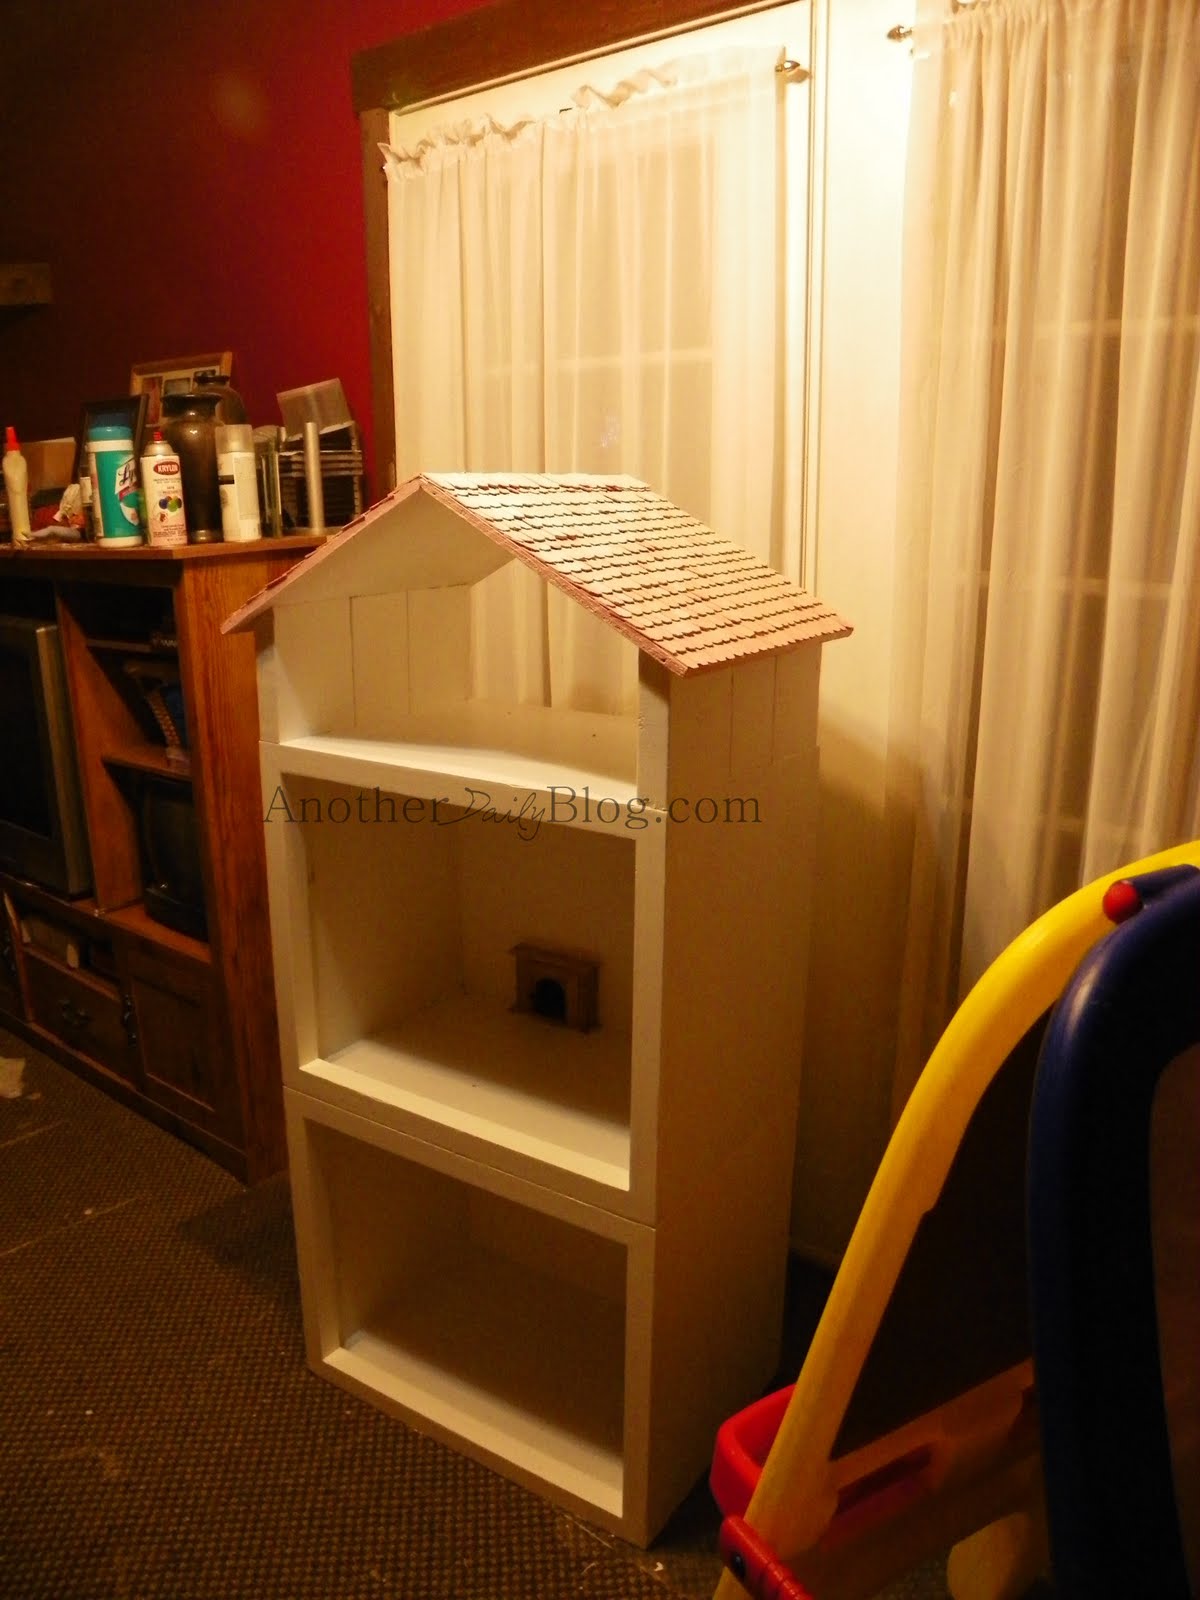
Handmade Barbie House out of 70's Speakers - ROOF Progress

Under normal circumstances, I would like to think this handmade Barbie house I have built / re purposed out of old 70's speakers would have, in fact been done by now. However - no babysitter (EVER), makes for me having to stay up in the wee am hours to do this thing with out my daughter sneaking a peak.

See that photo? Let me tell ya, if you guessed, "having to glue tiny dollhouse shingles piece by piece onto a roof" as one of the top 5 things I will NEVER do again; you guessed RIGHT :)


I wanted scalloped shingles for my roof. Lowe's didn't have any - Home Depot didn't either. (frown)

I ventured to Hobby Lobby and found scalloped dollhouse shingles for 9.99 a bag. I had a 40% off coupon so got one cheaper, the other I paid the full price for. - Didn't care, just wanted to finish this, Christmas is in a few days! :/

So I went home, broke out my Elmer's Carpenter's Wood Glue and started the pain staking process of hand gluing each and every shingle.

OH. MY. GOSH.

5 hours later (spread out over the last two nights)...


It is now 1:30 am and I just finished spray painting it pink! (Left over spray paint from her ceiling fan revamp project I did a year ago).
Oh, how much I love it already!! :) I hope my daughter does also!
I just need to add the back for the attic portion, paint the interior walls tomorrow (well technically tonight) - and then I will lay down the fake dark hardwood flooring. I AM so thrilled!! :D

To read more on this project and see how it started off as old 70's wooden speaker boxes, please click here, and read the list of blogs in that thread.

Now, if you'll excuse me, I have the season finale of American Horror Story to watch off DVR :)

Wednesday, December 14, 2011

.. Handmade / Repurposed Speaker Barbie House in Progress..


Have you been following my blogs? If you've been watching the progress of turning 70's wooden speakers into a 2.5 story handmade barbie house; here's a follow up blog.

 If you haven't, click here to read a previous blog on how we've been doing this.
So, on the last blog I had started to prime the boxes. 3 coats of primer later (for safe measure) the old speaker boxes have been nailed together. The half story has been added to the top box & the roof has been built.

Once they are all connected, I will prime the roof and half story on top then paint. Once that is done, the decorating can commence. SO pleased!

I only face one more decision. I decided I wanted to add furniture legs (finials) for added character/charm. I just don't know which to chose:
I am thinking the photo on the left. They come in packs of 2, so I'll need two (2 packs).

To think, they started off like this:
This just may be my fav. re purpose project ever :))

Saturday, December 10, 2011

Handmade / Re purposed Barbie House out of Old Speakers Part I

A few (or more) blogs down, I posted about how I had this wild idea to make a Barbie Dream House out of old 70's wooden speakers.

Well, I have to tell ya, that idea has come to near full fruition.

You see, once I have a wild idea, I tend to go with it (if my budget allows). We all know I am a broke mama trying to do my best. And we all know I was not about to drop $149-180 on the plastic Barbie Dream House.

So, here are some photos of the process. Still a little ways to go, but progress is better than nothing:

One of the 70's wooden speaker boxes (that will make up the Handmade Barbie Dream House)

Speaker boxes GUTTED

Gutted Speaker Box

Speaker Boxes Stacked to show how tall it will be (less roof)

Stacked speaker boxes w/ Barbie inside to show scale

Handmade Barbie Dream House Flooring: $2.47 for vinyl hardwood strips (bought 2)
& $6 for back splash tile (for bathroom)
The only lumber we purchased $6 for the roof/3rd floor

1st floor primed (coat 1)

1 primed box, 1 sanded box, the roof and interior walls

Some of the Barbie kitchen sets we bought  w/ coupons & sales = CHEAPER than used on eBay:)
Some even come with Barbie's CAN NOT beat that anywhere!


So, there ya have it, the progress of the handmade Barbie house SO FAR. I love to re purpose things. LOVE, LOVE, LOVE!! Especially when it saves me money & makes a QUALITY item CHEAPER than a brand new plastic item.  The only thing I have left to purchase are the ball feet for the bottom of this handmade Barbie house (not sure what they are actually called) and some carpet. TRUST when I reveal this it is going to look AMAZING! :) So far  I have only spent $14 in actual materials & about 76 in Barbie's & furniture. Everything else I have so $90 will have a SOLID wood piece that won't easily break with WAY more furniture AND dolls than the Barbie Dream Town House has and saving about 79 bucks :) Win/Win :)